Quick start
Step by Step Guide to setting up a new Bookings site
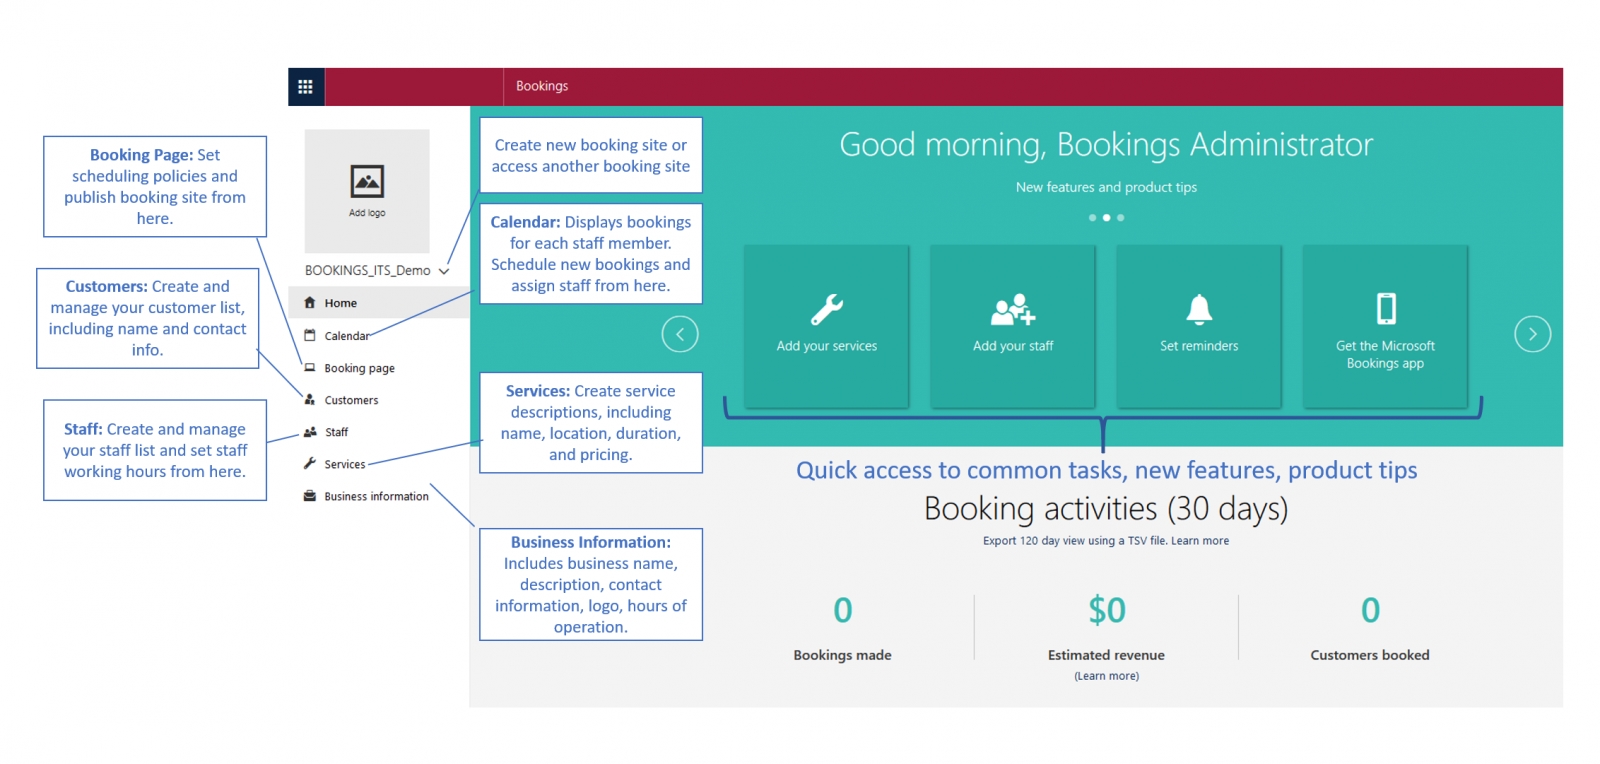
Step 1: Enter your business information
Step 2: Set your scheduling policies
Step 3: Define your service offerings
Step 4: Create your staff list
Step 5: Set employee working hours
Step 6: Schedule business closures, time off, and vacation time
Step 7: Publish or unpublish your booking page
Step 8: Create and staff your bookings
Tips
- Use a good naming convention for your Booking site display name, do not name it the same as an individual. The page will be, by default, available in the global address list, and this could cause confusion. Make the name be unique. For instance, prepend the name of the office – example: IT Services – Collaboration Tools.
- Add Buffer time if you need to allow for transit time between appointments, or if you would like time before the next appointment.
- Set up more than one service to allow for appointment times of varying lengths.
- Change the theme of your booking page to personalize it.
- If you are holding your appointments in a shared resource location (e.g. a meeting room on campus), then create meetings with those resources in your Outlook before publishing your Bookings page. Bookings will not book meeting rooms for you; those have to be done in Outlook.
- Customize the notifications for your services
Training and additional resources
Microsoft support articles
- Sync staff’s personal calendar with Microsoft Bookings
- Set language and time zones in Microsoft Bookings
- Set buffer time in Microsoft Bookings
- See 120 days of Booking activity
- Add custom and required questions to the Booking page
- Get the Microsoft Bookings app
FAQ
Q: How do I open another Microsoft Bookings calendar that I have been given rights to access?
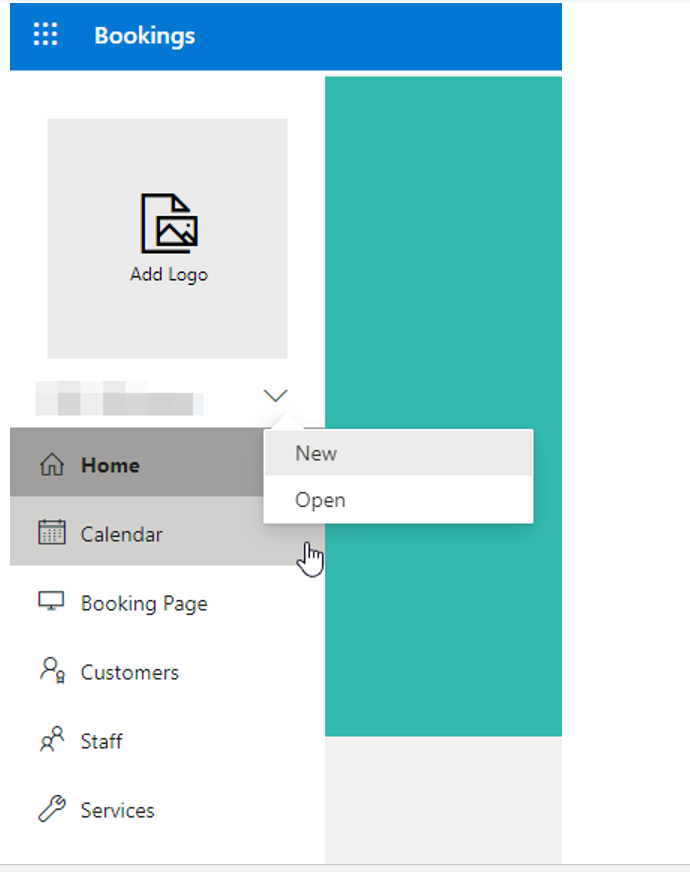
A: On your MS Bookings page, click the drop-down arrow next to your current Bookings site and then click on “Open”

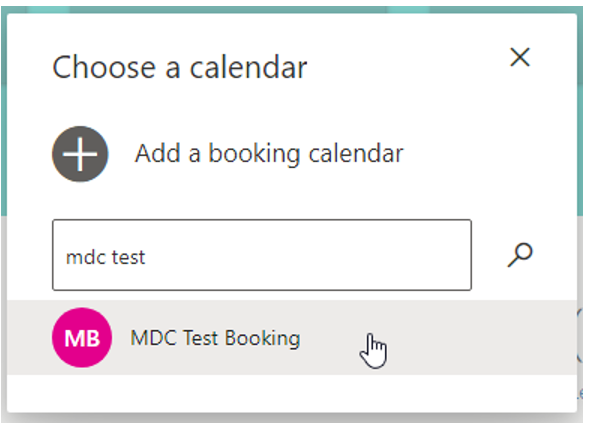
When the “Choose a calendar” window opens type the name of the Calendar you wish to open and click the search Icon. This will provide you with a list of calendars with that name. Click on the calendar you wish to open.

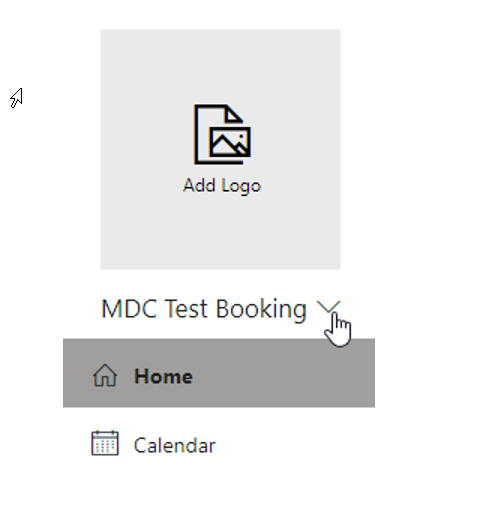
You will then have access to that calendar with the permissions you were given.
